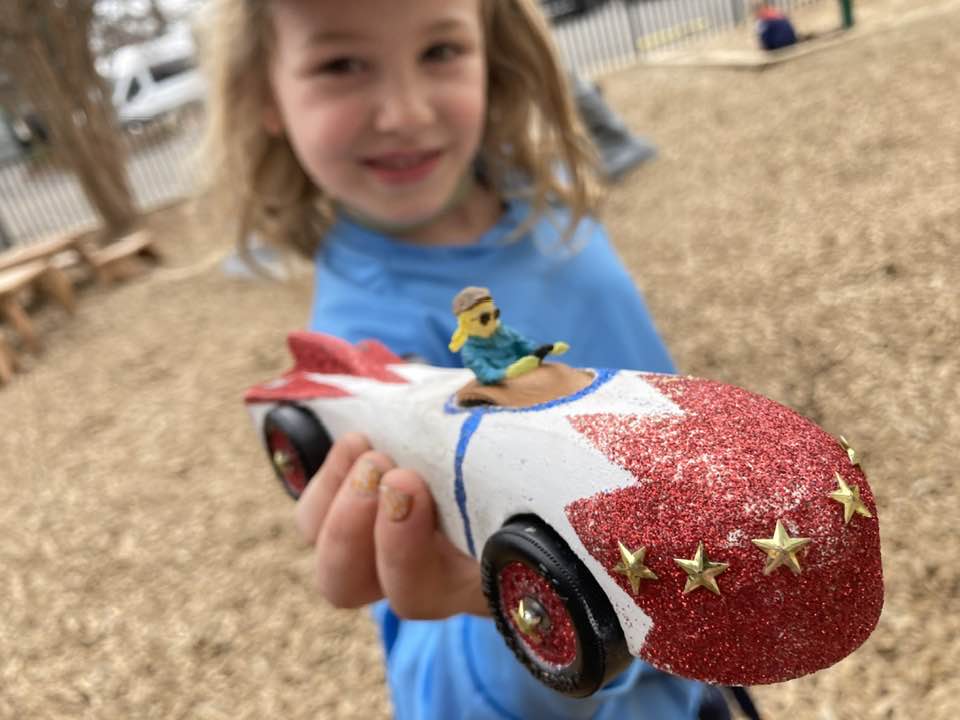
We’re in “Scouts”- As I was reviewing girl scout troops in our area, Amanda explained that she was in girl scouts for a while and lost interest pretty quick, and further relayed that boy scouts got to do cooler projects less focused on home economics & domestic pursuits. Fair enough- turns out the BSA accepts girls these days. Cool. She’s one of two in historic Troop 3. Sadly she was sick for last year’s pinewood derby but this year we had our first race! (note to self for the future: the track design for some reason mandates very specific wheel spacing so no offsets in any direction!).
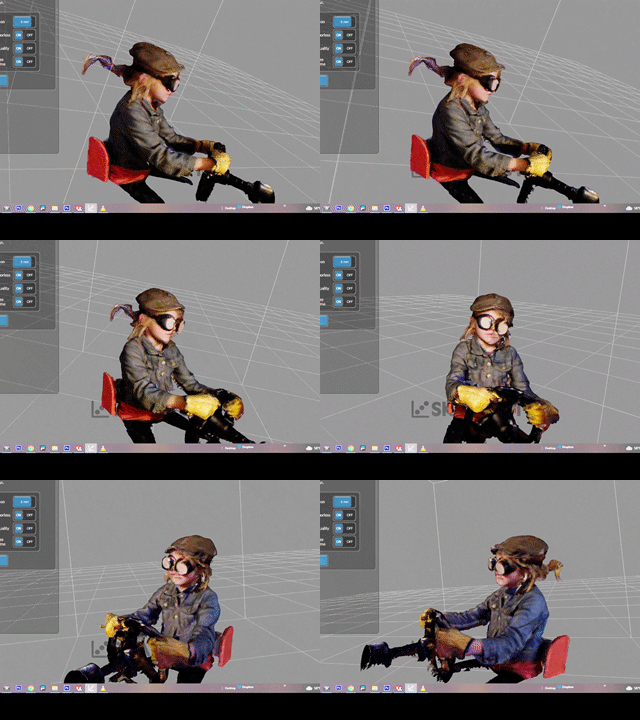
We used the same 3d scan of D from last year where we dressed her up vintage racecar style and put a wire in her ponytail to suggest her hair being blown backwards then shrunk her down to derbycar scale. The effect worked better than expected.

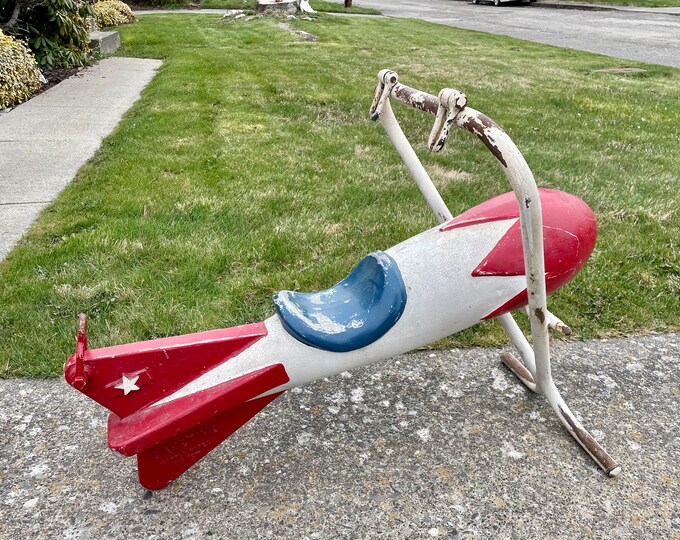
Continuing with the vintage theme we went with an old timey rocket swing but with more glitter and stars bling.

We didn’t really discuss it much at the time but I have to admit I made a provision based on a particularly awesome project I remembered from high school shop thats stuck with me all these years. How this isn’t more popular I’ll never understand (I’ve never seen it before or since).
Basically- we tapered the back of the rocketcar to a minimum dimension that just so happens to match the OD of a disposable C02 cartridge (bb gun type).
*We also inset the back wheels to follow this profile, but it turns out that made it not fit into the track properly so we had to do a last minute emergency rear axle extension to deliver a somewhat awkward looking but functional car at the event (provided you load it correctly).
So you probably see where this is going.. we had to make a custom turned reamer to match the diameter exactly primarily because we had almost no clearance around it but still wanted it snug. Got pretty lucky with the execution there- we also made a custom solid axle to bend around the cartridge but keep a tight clearance. Instead of eyelets for the guide string we just bent some spring wire into what is essentially a staple with a tiny loop at the centerline and hammered into the centerline of the car. This loop allows for a thin guide line (fishing line- sometimes braided sometimes monofilament) to run underneath the car.
I welded a metal loop onto a big heavy construction angle iron piece I had lying around and built an assembly from a slice of hardened steel bedframe on the other. I CAD’ed up and printed a design based on gradeschool weaponry as well: We had a nifty school supply vending machine at our grade school. It was soon discovered that the cardboard tubes that the pens were delivered in could be combined with a cut & taped rubber band to shoot tremendously dangerous pencil projectiles with great velocity. It was frankly amazing that I never saw any people get seriously pierced by these, but the range and accuracy was impressive, and attested to by the many pencils permanently embedded in the ceiling of Virginia Lake Elementary.
Anyway, fast forward a few decades and here we are with an updated version that uses a quad-sharpened hardened concrete nail as a cartridge piercer. There are a few updated features for this purpose:
- It has a hard rubber cylinder stop for the head of the nail- this prevents the tip of the nail from ever actually protruding past the cylinder assembly. You have to insert the small cylinder end of the cartridge into the hole to get it to work.
- It has two arms to hold the whole wide rubber band- you don’t need to cut it and you get ~2x the force.
- It has a ballast/handle made from a slug of rebar to build some additional kinetic puncturing energy.
- It has a mount point for the other end of the guide wire that aligns to where the aforementioned eyelet center.
The whole “Piercer” assembly mounts up to a slot on the angle iron (bed frame) with enough offset to secure it fairly rigidly to the ground (with a person/foot or other heavy ballast).
Amanda had conveniently thrown out a memory foam bed topper that very week which made for a great finish line impact absorber (and even now sits in our driveway having been improvised to at least 3 other uses so far). The long hallway in our house from closet to dining room was our first test. Somewhat shockingly; it worked the very first attempt! It was pretty awesome and maybe even faster than I remembered. We immediately took it outside and set it up in the street. This time we took a spare FPV camera set to 120fps capture and milled/printed a camera and PCB mount on the car. We have more launches to do, but what you’ll see in this dramatic yet somewhat tragic video is the destruction of a $100 camera in the blink of an eye due to a rebel acorn. I’m not sure if its a wheel or the camera you see in the slow motion but I did recover a slight bit of the footage onboard. If I try this again, I’ll definitely design in some better protection.
Anyway- that about sums up the process. Plenty of room for improvements and maybe even a multi-car launch and timing system for the next go-round. For a 1st try though- this was fun!
I realized later that I had conspicuously few full-speed clips to appreciate how fast this thing actually is. Here are some realtime (or attempted to un-slowmo slow motion videos) clips:
