Although I’ve acclimated to Charlotte pretty well over the years, I’m originally from Chicago, and the summer heat here is something I’d be glad to avoid. Having said that, I also hate cold water. Consequently we were grateful for a gifted 10′ intex pool that coincided with a heightened interest in swimming for Delilah; It’s a pretty ideal depth for a toddler such that she can/could swim but still touch the bottom. However I was motivated to make a few upgrades which turned into many upgrades.

This particular project has evolved each year with new improvements. I’m writhing this in fall of ’22 but it probably started about 4 years ago with a cheap, common water heater immersive heating element from Home Depot, and a handful assortment of plumbing and electrical adapters- which some would call a recipe for disaster, but I’m going to title a “safety challenge”. Here’s my official disclaimer: You probably shouldn’t do this. Moving right along: I did engineer a few safety details into the system, and while this page isn’t meant to be a precise DIY guide, I’ll note a few sensors and additions I’ve made.
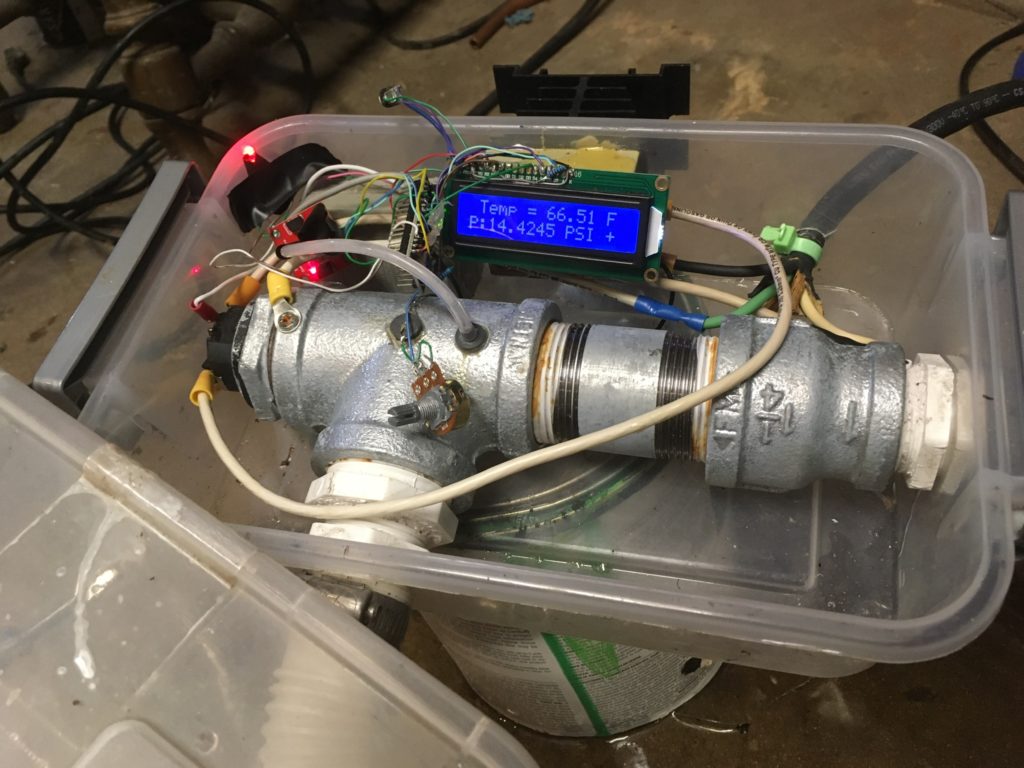
Starting out with a bit of thermodymics, we arranged our heater inline with the filter/pump assembly such that cold water intake from the pool is immediately routed over the immersed heating element. An integrated SSR assembly is wired to turn on the heater at a given threshold and otherwise keep it turned off. This is pretty essential, particularly because these operate as separate systems. The pump has it’s own GFCI plug and the outdoor plus was also upgraded to GFCI prior to getting started. The big concern here is that that pump could trip its own plug GFCI (or stop/stall for other reasons- like having the intake blocked, or accumulating too much air in the system) and leave the heater circuit going. That means that there is no circulating water and whatever water is surrounding the element will just sit there and boil, probbaly damaging things and causing more safety concerns.
So, safety mechanism #1 is just a sealed, immersed thermistor to tell our arduino nano what the temperature is. This also gets used to set a threshold temperature. This works out pretty well but what we’ve learned over the years is that it only really kicks in in the “emergency” case I described because the lack of insulation means that the heater is generally always on provided things are working properly. In fact, despite the circuit drawing pretty much maximum current at the outlet we really only end up with a small temperature differential which I could calculate, but I’ll just say real world we are probably raising the water temp by about 6-9 degrees farenheight over ambient- which is actually a very comfortable level but we can’t really overcome a cold day. It’s never going to be a hot tub but if it’s 90F out, I think we’ve gotten it up to around 100F which is nice especially after sundown when things are cooled off but the water is slow to drop.
Anyway, so the next safety mechanism is we added a pressure sensor that can tell if/when the pump stops working and cuts heater power when that is the case. The pressure drop is actually really surprisingly subtle, I was worried at first that it woudn’t be enough to be reliable, it is surely sensitive to the height of the sensor relative to water level but once you get it calibrated it actually works quite well.
The orignal version didn’t have a display, but adding it later was a nice addition so that it will display temperature, pressure, and heating state. I actually added a little red external led to let you know when its heating as well (which should pretty much be always). An early safety test fail had the heater cooking the PVC- which we all know is bad. That resulted in redo with steel pipe fittings instead, but more importantly, a reprogram and redesign. Anyway, so at this point, I’m pretty content with things. The whole assembly is routed into a conveniently sized piece of waterproof tupperware- well, it was initially waterproof, but I later decided a more passive approach would be better than trying to seal everything and instead made it rain/water resistant from the top with a drain hole in the bottom.
So, overall, I have to say it’s pretty great. When we were originally using it, I’d unplug the whole thing during our swim sessions just to eliminate any chance of trouble, but I’ve gotten more comfortable as things are all working as intended now. It’s all grounded, and pulls about 10A at 120vac, which is enough to trip a breaker if you don’t strategically use hair driers, microwaves, etc. I think the next update will have this outdoor plug on its own breaker. We’ve also since surrounded it with a little pergola and zipper screen. It’s fortunately the exact size to fit inside, and we’re not missing the mosquitoes even a little. We’ve also added hanging shelves to the corners, little blinkey lights for style, and this summer, a waterproof “movie screen” (white plastic from Home Depot). Flash Gordon looked good out there! Last summer we went with the big projector and big complicated screen, but this years pico projector and “inside the pergola” solution was a lot more convenient.
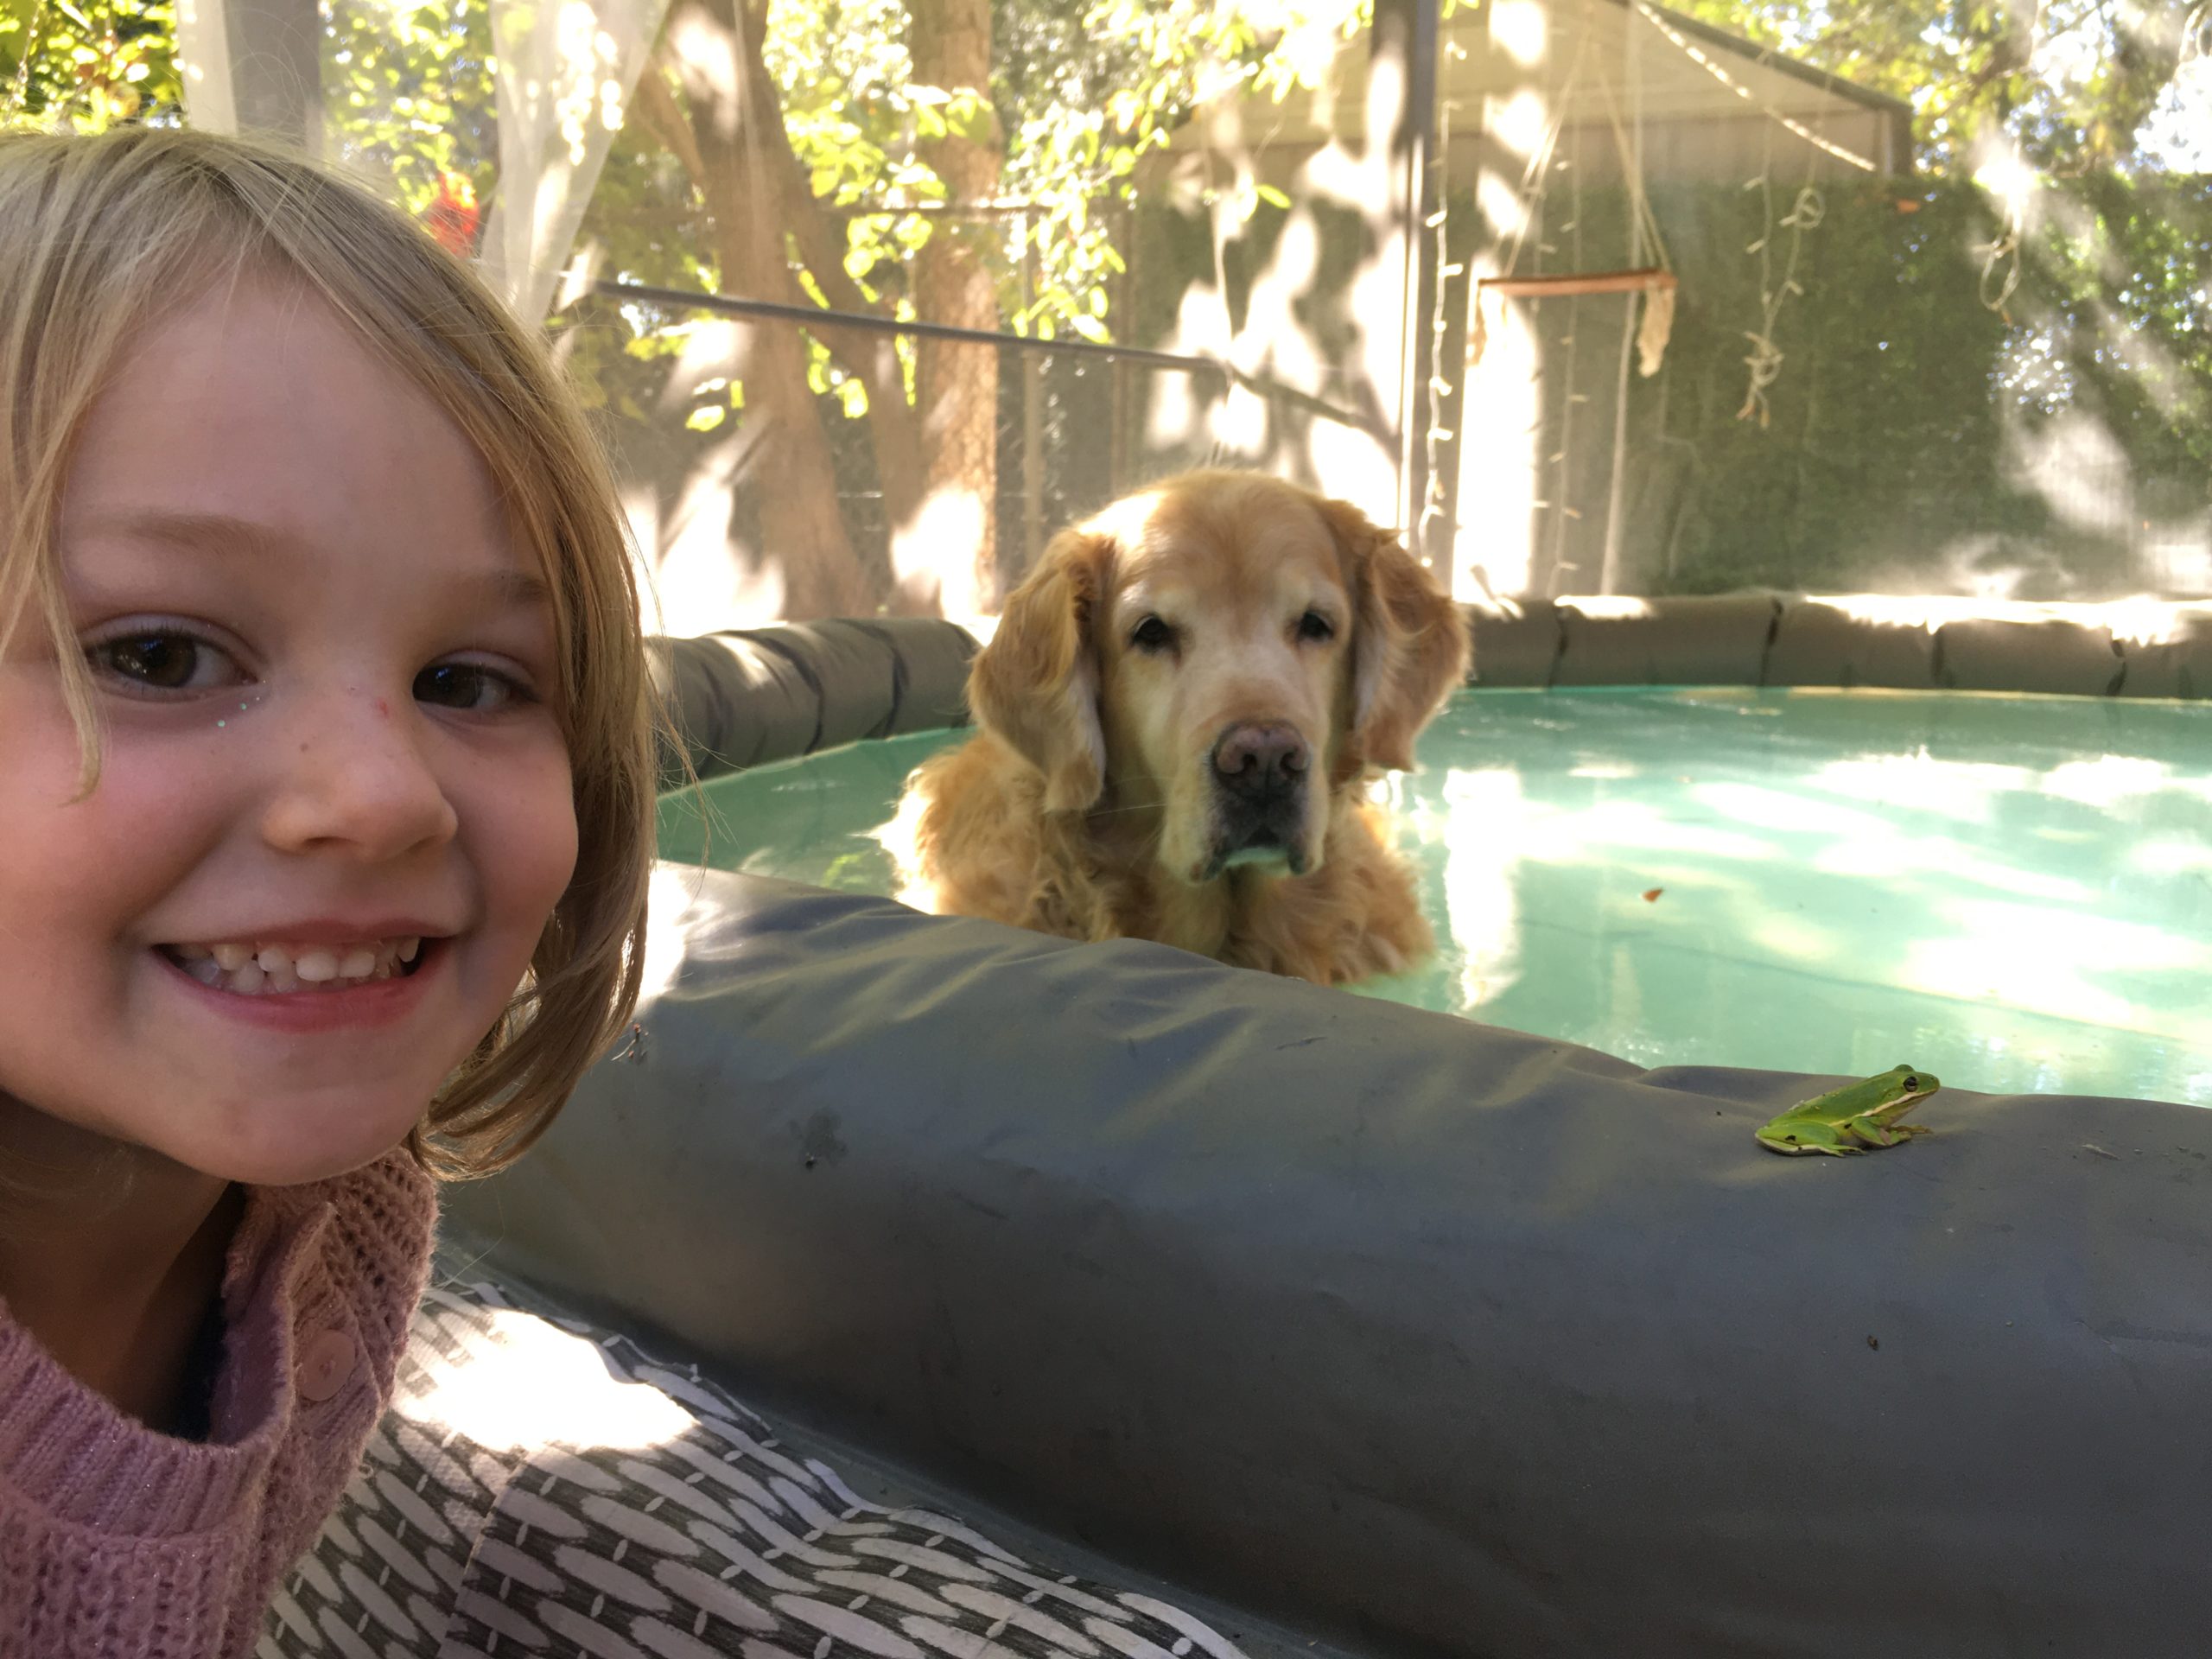
Delilah’s become a real fish in the water now, so its satisfying to get so much use out of this setup even as the pool itself is kind of falling apart at this point. Every year starts with a pool repair, and a proclimation that “this looks like it’ll be the last year” but here we are still propping it up and enjoying the heck out of it. Here’s to summer!